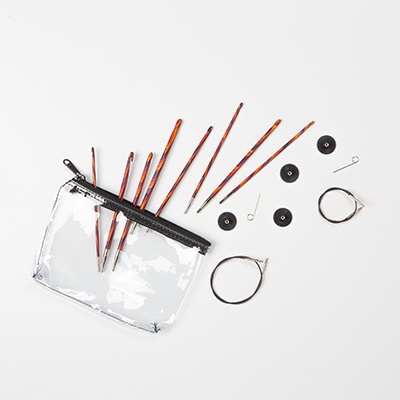
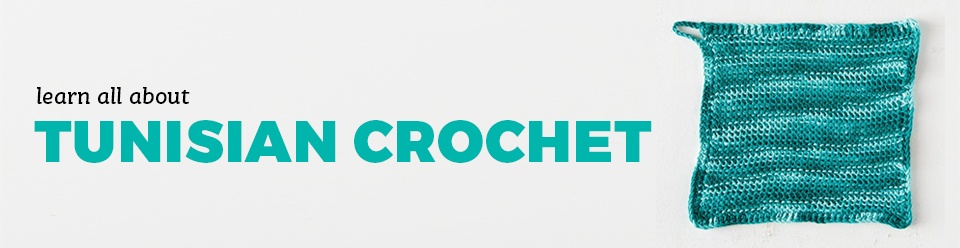
Tunisian crochet is often considered the combination of crochet and knitting. This is because it uses a crochet hook, but requires you to hold all of your stitches (or loops) on the hook in the same way you do as you knit. For this reason, you’ll need a long crochet hook or a hook with a cable attachment to accommodate the number of stitches in your Tunisian crochet project. You might also hear Tunisian crochet referred to as Afghan crochet and its basic stitch referred to as the Afghan stitch.
Where did Tunisian crochet get its start?
Its origin is a bit murky. In its earliest iteration, it was once referred to as the Princess William Frederick Stitch. Patterns featuring this stitch started appearing in needlework publications in the mid-1800s. In spite of its current name, many people believe it did not get its start in Tunisia or Afghanistan, but found its origins in Europe. Exactly where it began, no one is sure, but it has come a long way since the 19th century!
How do you do Tunisian crochet?
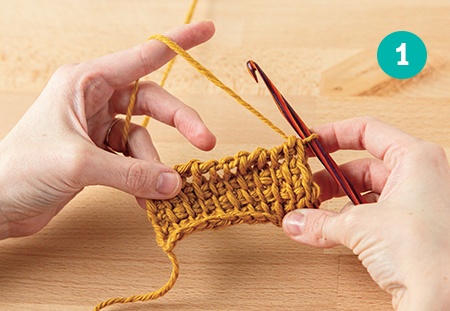
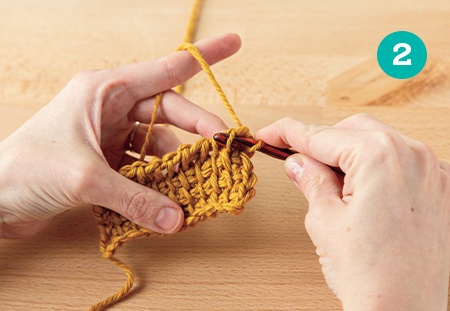
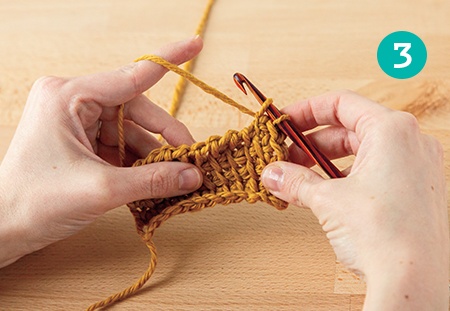
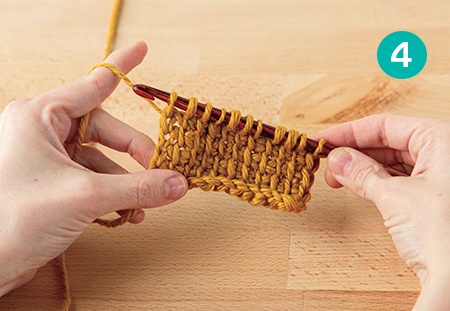
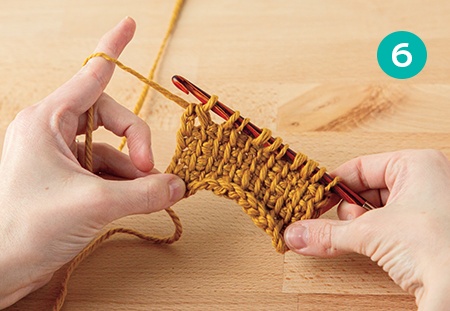
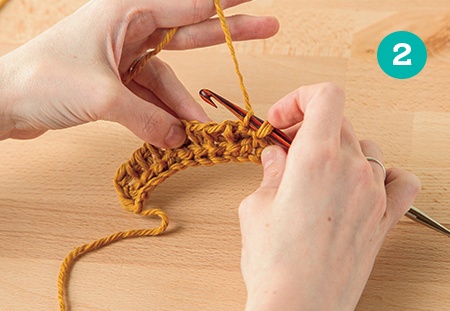
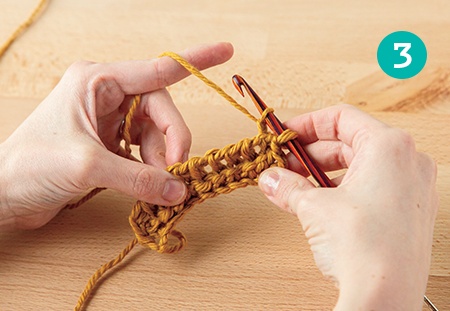
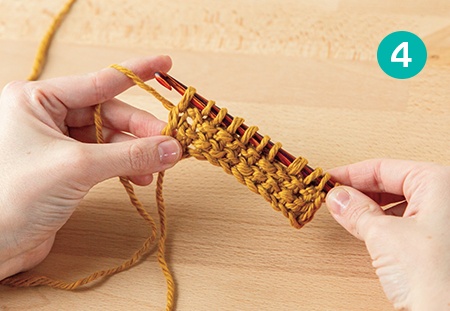
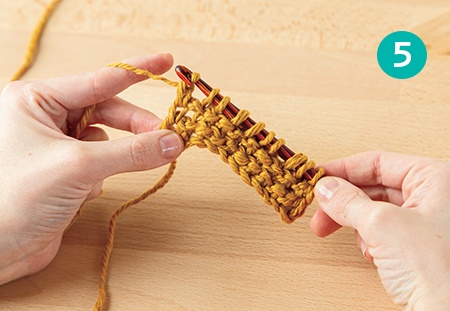
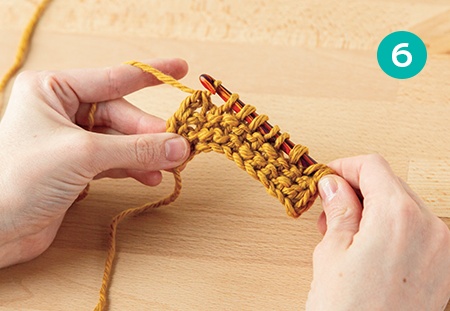
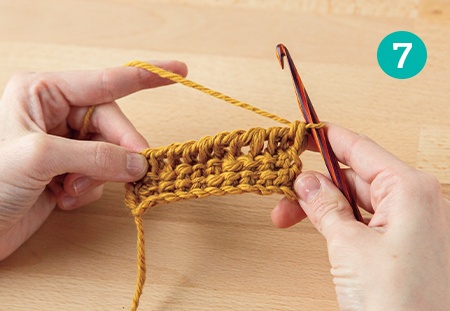
Standard crochet, when worked in rows, requires you to turn your work as you work back and forth. Tunisian crochet involves a forward pass and a return pass where the work is never turned, and you are looking at the Right Side (RS) of your project the entire time. The forward pass and return pass are counted as one row.
Forward pass (FwP): A Tunisian crochet row is worked in two passes: a forward pass and a return pass. The forward pass is worked right to left for right-handed crocheters or left to right for left-handed crocheters and is the process of accumulating the loops on the hook. The forward pass is often where the stitch pattern is established and it includes a variety of stitches.
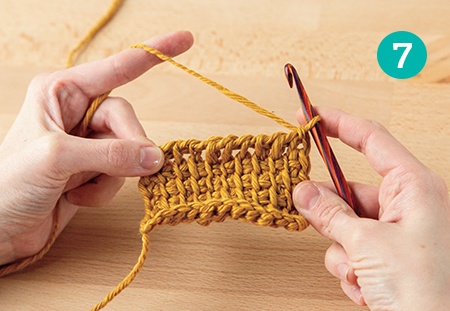
Return pass (RetP): A Tunisian crochet row is worked in two passes: a forward pass and a return pass. The return pass is worked left to right for right-handed crocheters or right to left for left-handed crocheters and is the process of working loops off of the hook after the forward pass. In a standard return pass, once all the stitches are on the hook, yarn over, and pull through one loop, *yarn over, pull through 2 loops. Repeat from * across until one loop remains on the hook. Consult your pattern’s instructions for a non-standard return pass.
How do you get started?
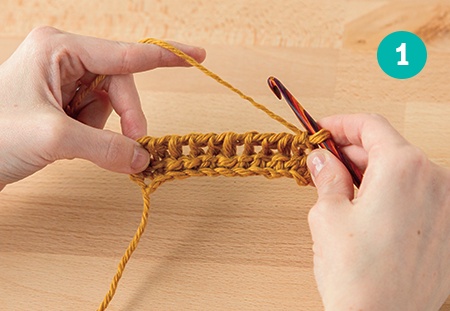
Tunisian crochet typically begins with a foundation row or a setup row. For a typical setup row, chain the appropriate number of stitches, insert your hook into the second chain from hook, yarn over and pull up a loop, leave that loop on the hook, and *insert your hook into the next chain, yarn over, and pull up a loop, leave that loop on the hook and repeat from * across until you have a length of loops on your hook. Then work a standard return pass: yarn over, and pull through one loop, *yarn over and pull through two loops; repeat from * until 1 loop remains on the hook. After you complete the setup row, you can start creating a pattern based on the Tunisian stitch you choose.
Anatomy of a Tunisian Stitch
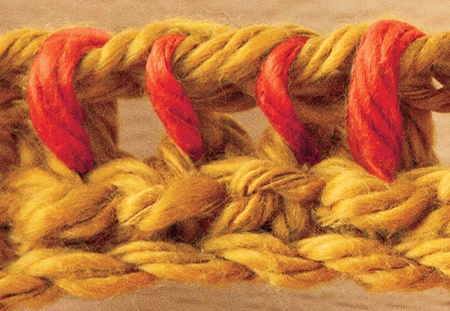
To create different Tunisian stitches, a lot depends on where you insert your hook. To understand hook insertion, you should recognize the different parts of the stitch.
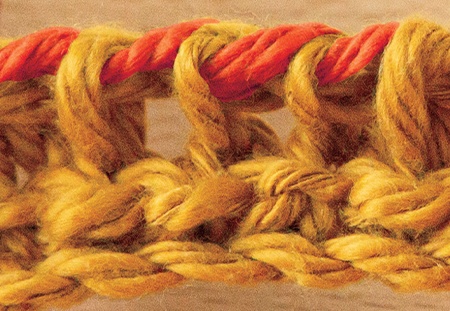
Horizontal bar: This is the top part of the stitch, where you typically think of inserting your hook for standard crochet stitches.
Front and back vertical bars: A typical Tunisian stitch will have 2 vertical bars: one in the front closest to you and one in the back furthest from you.
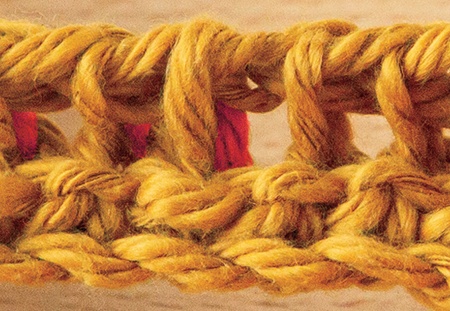
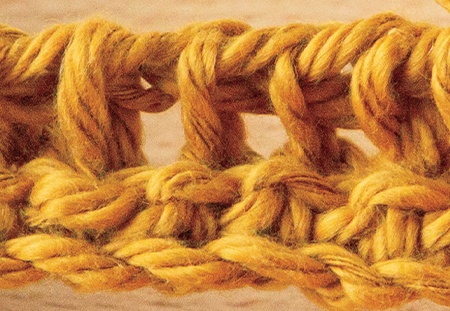
Space between stitches: This is the space between one set of front and back vertical bars and the next set of front and back vertical bars; it’s a fairly large space.
What are some Tunisian crochet stitches?
The most common Tunisian stitches are:
Tunisian simple stitch (TSS): Skip first stitch of row, insert hook from right to left under front vertical bar, yarn over, pull up a loop, leave the loop on the hook and continue across the row.
RetP: Yarn over, pull through 1 loop, *yarn over, pull through 2 loops, rep from *until 1 loop remains on the hook.
Skip first stitch of row
Insert hook from right to left under front vertical bar
Yarn over, pull up a loop
Leave the loop on the hook and continue across the row

RetP: Yarn over, pull through 1 loop
*Yarn over, pull through 2 loops
Rep from * until 1 loop remains on the hook
Tunisian reverse stitch (TRS): Skip first stitch of row, insert hook from right to left under back vertical bar, yarn over, pull up a loop, leave the loop on the hook and continue across the row.
RetP: Yarn over, pull through 1 loop, *yarn over, pull through 2 loops, rep from *until 1 loop remains on the hook.
Skip the first stitch of the row
Insert hook from right to left under the back vertical bar
Yarn over, pull up a loop
Leave the loop on the hook and continue across the row
RetP: Yarn over, pull through 1 loop
*Yarn over, pull through 2 loops
Rep from * until 1 loop remains on the hook
For a complete description of all Tunisian Stitches, check out the Stitch Guide in our Learning Center.
Some Pro tips!
Here are a few tips for Tunisian crochet if you’re just getting started:
- Unless instructed differently by your specific pattern, skip the first stitch when you begin a forward pass.
- Is your crochet project looking extra curly? That’s totally normal. Tunisian crochet has a tendency to curl. Be sure to block your project after it is finished and this will help eliminate the curl.
- Count your stitches! Because you skip that first stitch, you’ll want to make sure you’re not also skipping the last stitch (it’s a common mistake). Count your stitches every 2-3 rows to make sure you’re not accidentally increasing or decreasing.
- Fabric looking a little slanted? This is normal, too. Some Tunisian projects can look like they’ve been worked on the bias (as in your project might look more like a parallelogram than a rectangle). Blocking can help fix this problem as well.
- Don’t be afraid to experiment! If you’re just getting started, try making a stitch sampler that gives you 5-10 rows to practice each of the stitches in the Stitch Guide.
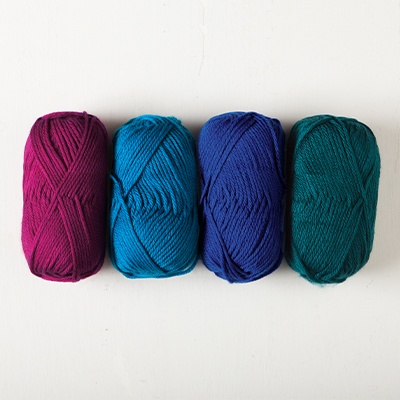
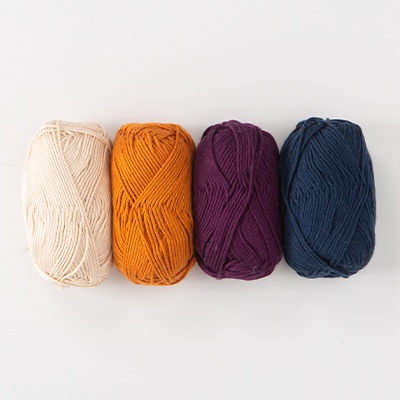
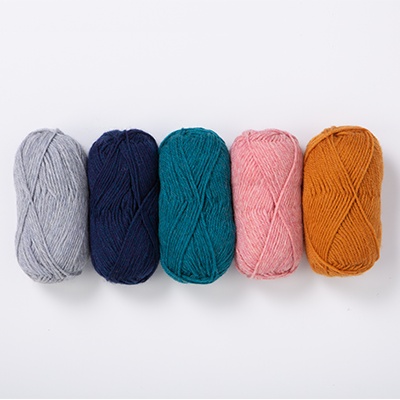
Grab Some Tools and Yarn
To get started with Tunisian crochet, we recommend this set of interchangeable hooks with varying lengths of cord and a basic yarn like Brava or Wool of the Andes.