
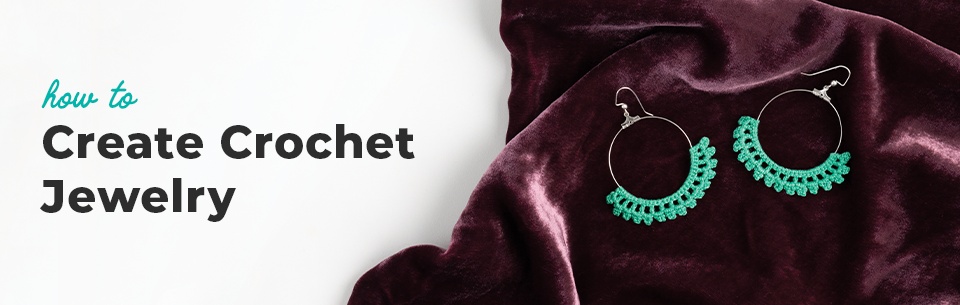
Create crochet jewelry for a quick and fun project this summer! These projects use small amounts of yarn, having stunning results, and help you avoid a lap full of wool yaen in the summer heat. Here, we’ll walk you through a few finishing touches to make your project a success: adding beads to your crochet, attaching a jump ring, and stiffening your crochet.
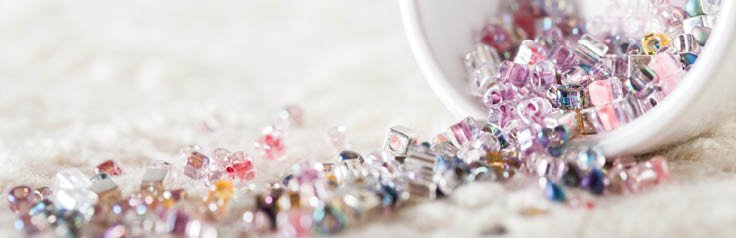
All About Beads
Beading with your crochet can be so much fun. It is a great way to add subtle detail to your project, or really make a statement depending on what beads you pick. Learn with us what you need to know about picking beads for your next crochet project.
Bead Size
When a pattern calls for beads, they typically tell you how many beads and what size you will need. Reading through a pattern, you might see something such as 6/0 (read as six O beads) or 8/0 seed beads which refers to the size of the bead.
A 6/0 bead means that about 6 of these beads will fit in one inch. Unlike crochet hook sizes, the larger the number when referring to beads, the smaller the beads are getting. The size of the beads used is most determined by the size of thread or yarn that you are using in the project.
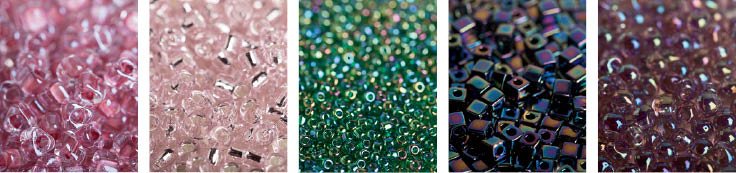
Bead Material
Along with the size of beads that you are using, you want to consider the material and shape of the bead. Beads come in all different materials, including glass, acrylic, wood, bone, shell, and more. When thinking about what beads will be best to use, consider the inside of the bead hole.
To preserve your thread or yarn, pick a bead with a smooth hole This prevents the bead from sticking on your thread or yarn, which impacts its integrity and weakens it over time, potentially causing it to break. Also, consider the opening of the bead when it comes to shape. A bicone crystal (something that looks like a diamond) might not be the best choice as it has a more pointed edge that will also wear on your thread or yarn.
How To String Beads
1 Pre-stringing Beads. Some projects will tell you to pre-load or pre-string your beads. This means that you put all of your beads that you will need onto your thread or yarn before starting the project. As you work your stitches, slide the bead to your hook and capture the bead in the stitch as you go. The downfall to this method is that you need to make sure that you have the correct number of beads on your thread before starting, as you can’t add more unless you cut your thread and add more.
Note: You can pre-string your beads by using a needle that fits through the bead and on your thread or yarn. Alternatively to using a needle, you can put some clear nail polish or glue on the end of your thread to give it a stiff edge to work as a built-in needle. If going with this method, try cutting the end at an angle to help increase your efficiency.
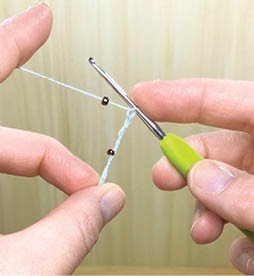
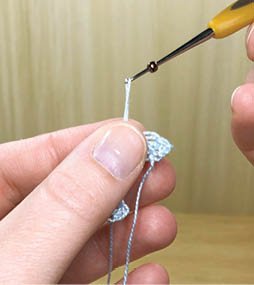
2 String as you go. The other method of adding beads is to add them as you get to the stitch you want to place your bead. This typically means taking a super tiny steel crochet hook, threading the bead on that hook, and sliding the bead onto your working loop. Once the bead is on the working loop, pick up your original crochet hook for the pattern and continue along until the next bead that you need.
Jump Rings and Clasps
Adding a Jump Ring
Jump rings are a great tool to have when making jewelry. They are small metal rings that can be used to join two pieces together or even for decoration. When using a jump ring, there are some important things to know:
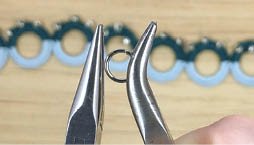
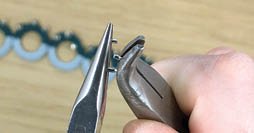
- Opening a jump ring is done most efficiently using two pliers to give you the best leverage. When opening a jump ring, you want to make sure that you are twisting front and back and NEVER opening side to side. Once a jump ring is opened side to side, you will never get it back into a perfect circle. Using your open jump ring, thread on your clasp and then thread that into the stitch that you want to connect. Your two pliers will come in handy to close the jump ring back up.
- Like clasps, jump rings come in many different sizes, so be sure to pick one that will fit best with your finished piece.
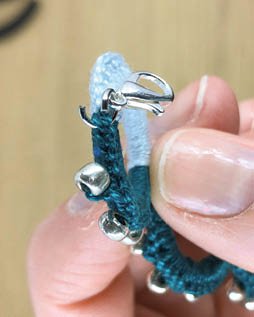
Adding a Clasp
Adding a clasp can be done in one of two ways: putting your clasp directionly into your stitches or adding after you have finished with a jump ring. If you are going to put the clasp directly into your stitches, this will requre some more planning as you will need to be sure to string it on your thread or yarn before you start the project.
There are many sizes and types of clasps on the market (Toggle, Lobster Claw, Magnetic, etc.). All of them are great for finishing a project; it really is a personal preference on what you like to use.
Stiffening Crochet
After spending time getting the lace of a crochet jewelry piece just right, you will want to make sure that it doesn’t lose its shape over time. A great way to accomplish this is to stiffen the cotton thread when you are finished.
You often hear of stiffening crochet with doily projects or snowflakes, and the same principle can be applied to crochet jewelry. Overall, you don’t want to make your piece too hard by over-stiffening but to keep its structure with wear.
Once you have finished your crochet piece, soak the thread in your stiffening solution and then let it dry. It really is a simple tecnhique that makes all the difference.
Methods of Stiffening Your Crochet
- Starch and water
- Glue and water
- Gelatin and water
- Premade mixtures