

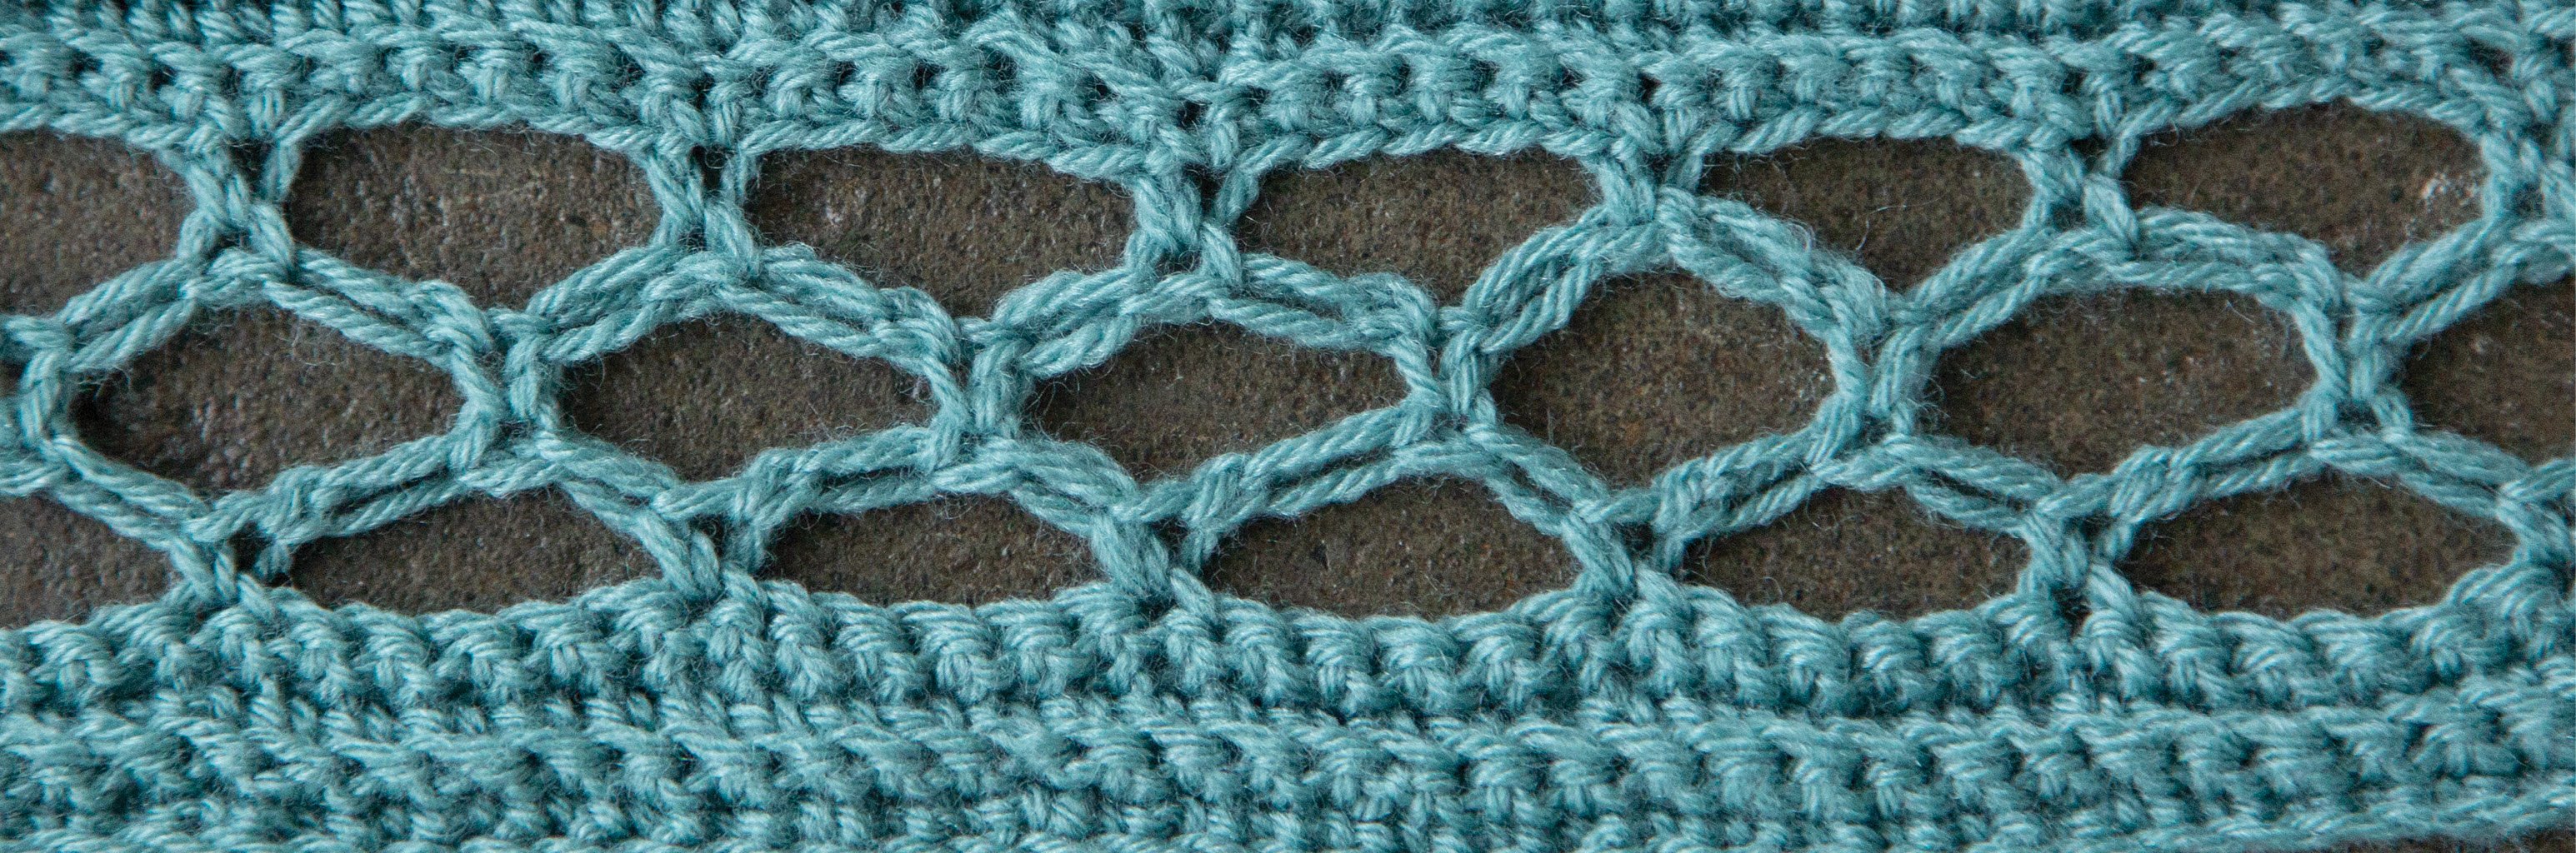
Soloman’s Knot (also known as Lover’s Knot) is a beautiful lace technique in crochet. It looks harder than it is, really you only need to know the chain stitch and the single crochet stitch (and one treble crochet). By elongating the size of your chain stitch, you get a beautiful diamondshaped knot pattern.
Soloman’s Knots typically have a chain stitch ranging in size from ½” tall to sometimes over 2” tall. When following a pattern using the Solomon’s Knot, the pattern will tell you exactly how tall to make your loops.
Before you get started making a swatch, it is important to note that Solomon’s Knot is a stitch pattern that is best blocked. It might look messy until you block out the stitches, making them really shine!
Pro Tips
- Blocking is your friend. Blocking will make your lace stitches have true definition.
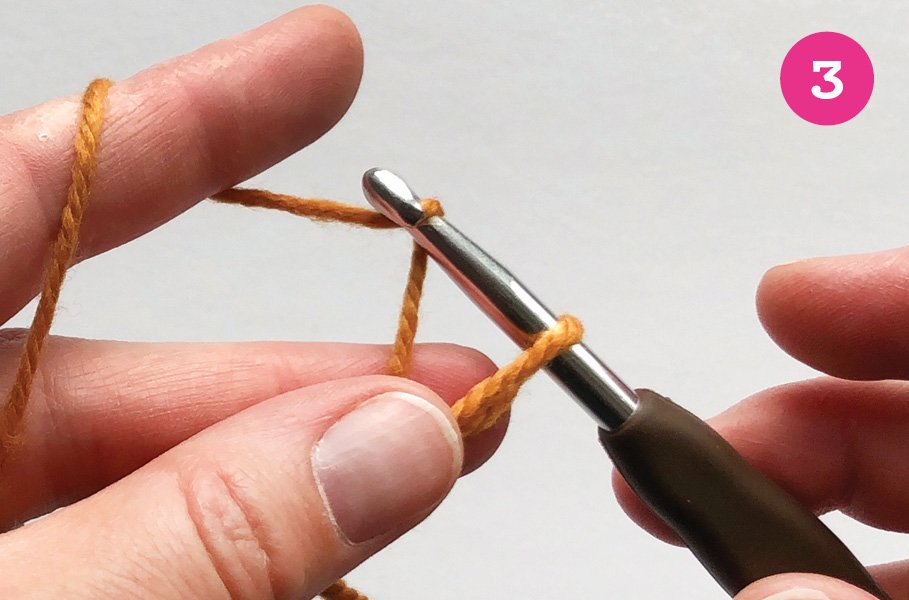
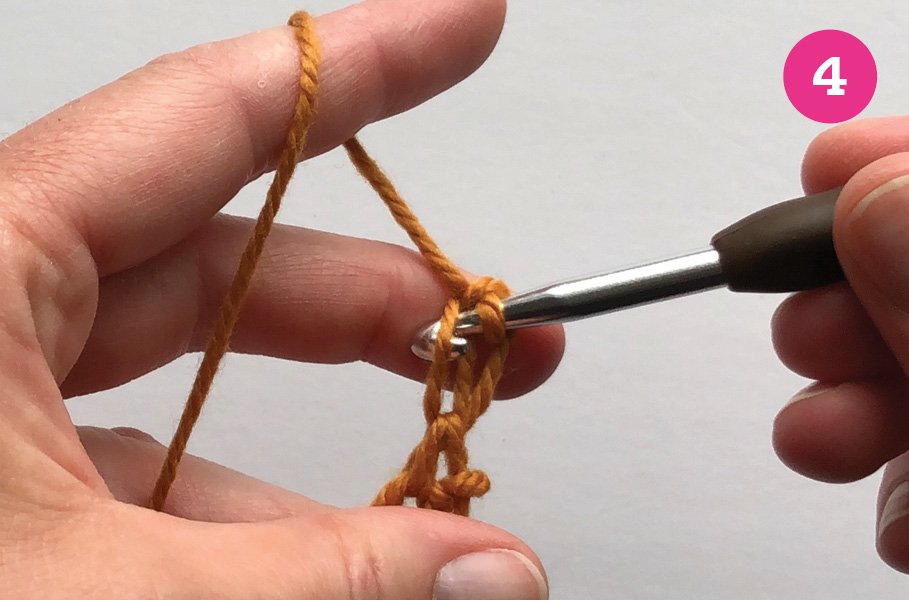
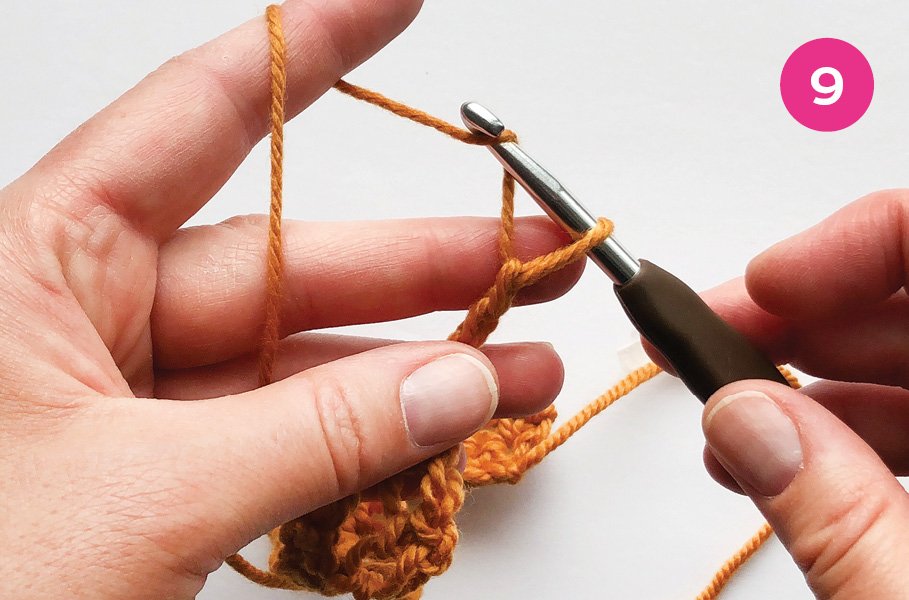
- Pinch your chain stitches while you work to ensure that the height doesn’t change as you go.
- Make sure that you are starting your chain stitches at a similar height each time. This will give you a more consistent look throughout your piece.
- Soloman’s Knots are often worked in sets of two.
- Soloman’s Knot is abbreviated to SK.
- Work SC stitches in the peaks of SK sets from the rows below.
How To Make Soloman's Knot
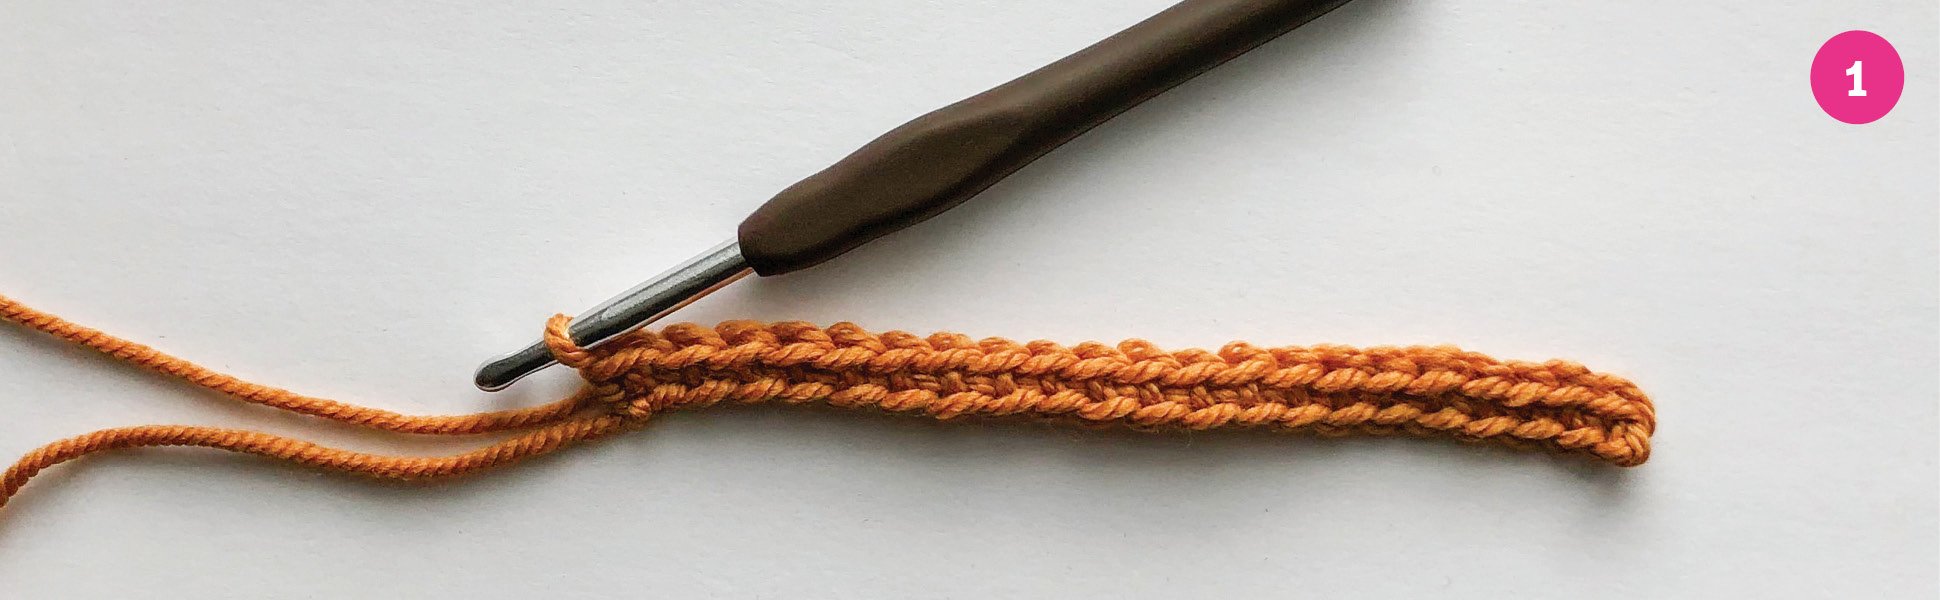
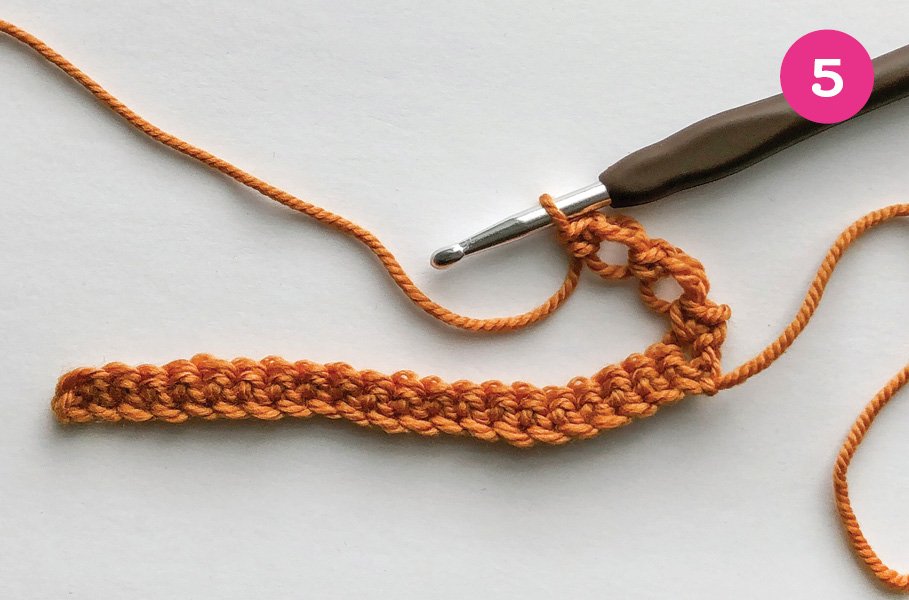
Set Up Row
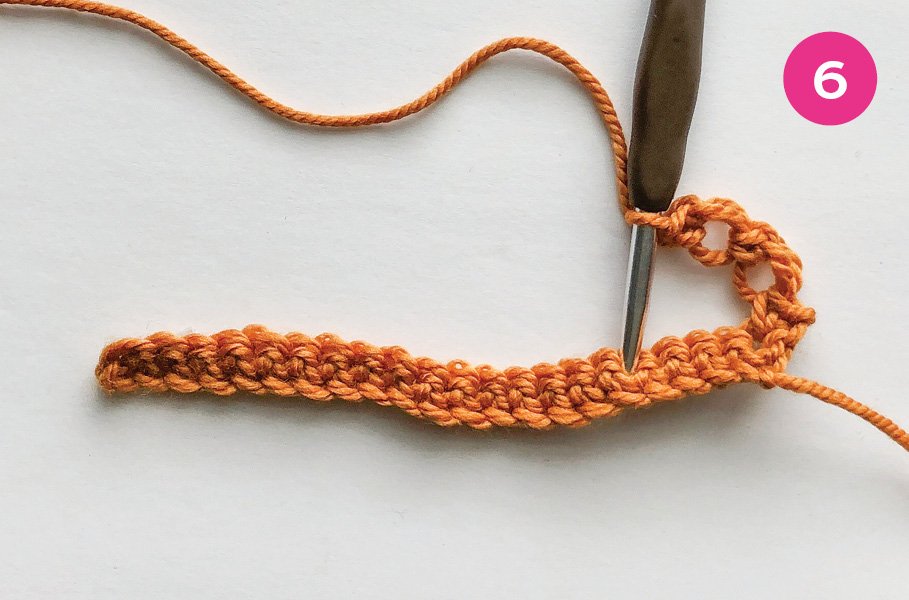
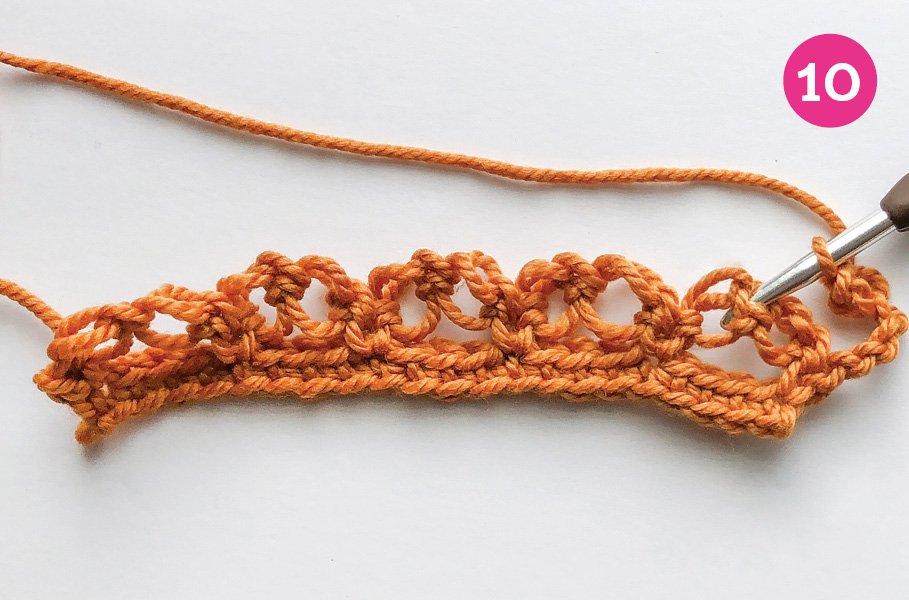
Row One

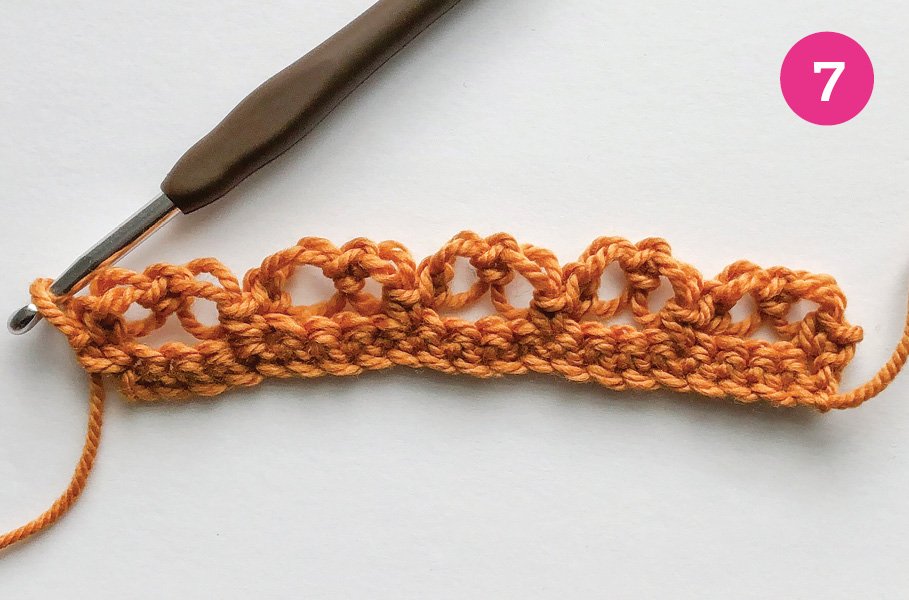
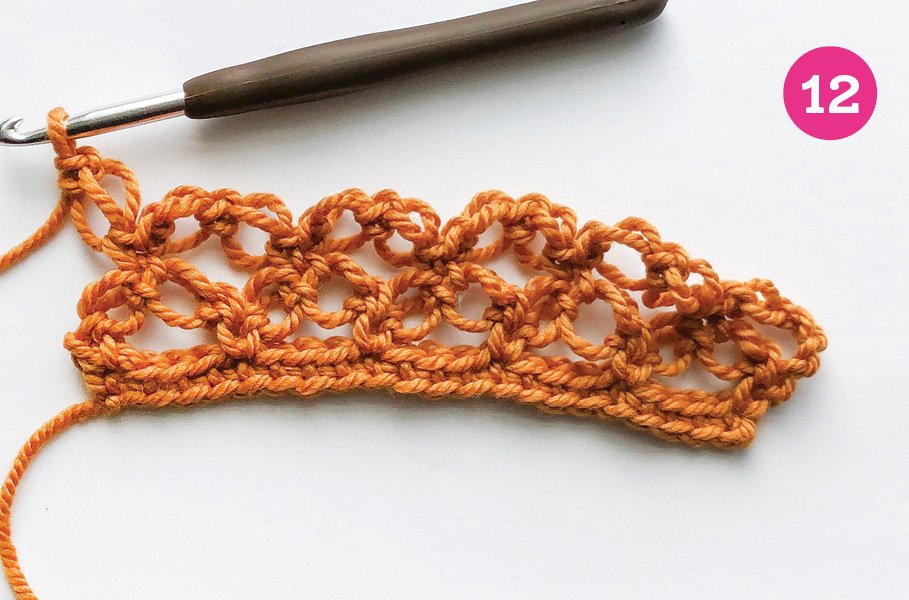
Row Two
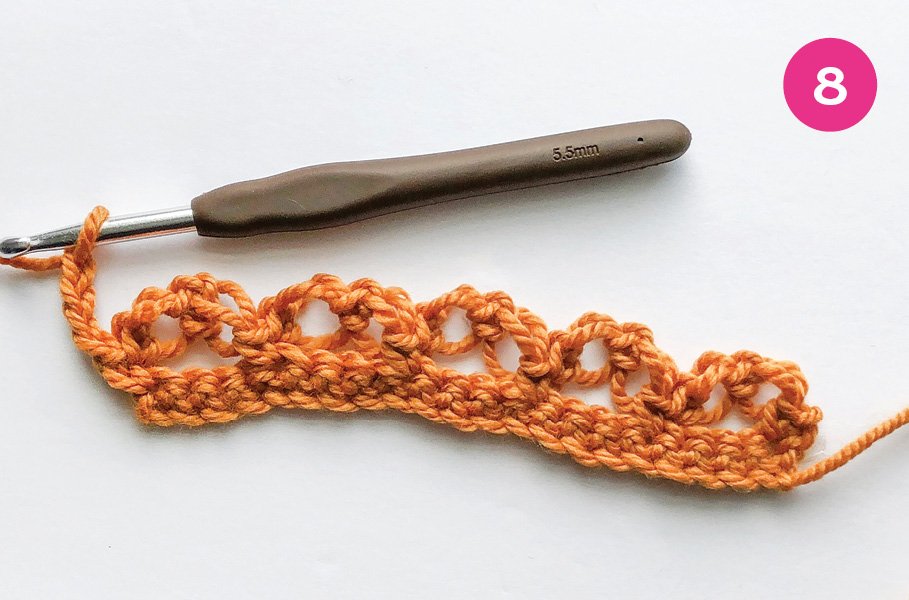

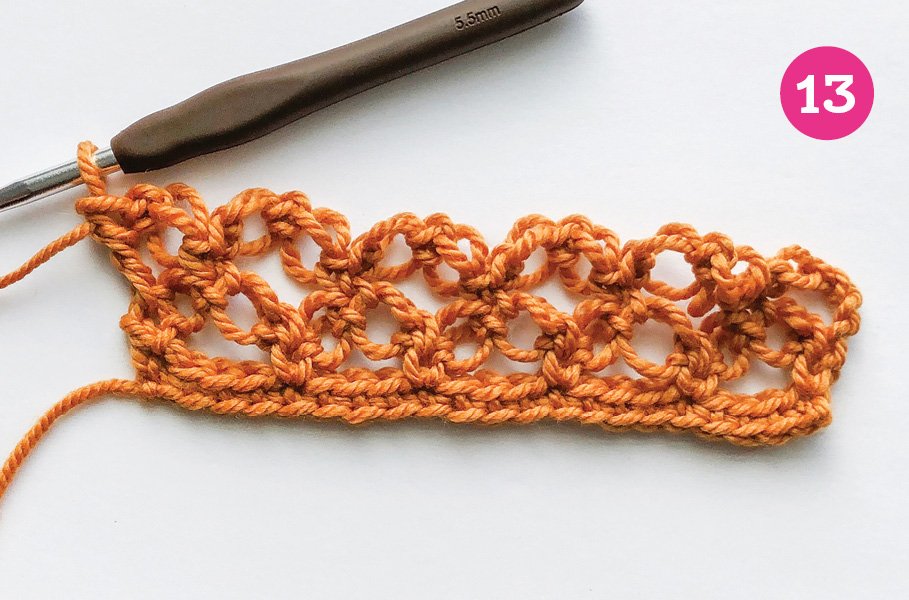
Rep Rows 1-2 for your swatch, beginning the next row with ch 1, SC and work, remembering to work into the peaks of the Solomon’s Knot sts (skip the valleys).
Finishing Row (Optional)
Your swatch will naturally have a staggered edge. If you would like a flat edge, follow the steps below, following Row 2:
Step 1: Ch-5 (counts as a tr + ch-1), turn, SC in first SC.
Step 2: Loosely ch-3 and SC into the center of the top of the next Solomon’s knot. Rep this across your entire project to last SC.
Step 3: Ch-1, tr in the last SC. Now you are ready to try out the Solomon’s Knot Tee!